Tuesday, January 31, 2012

Rum Raisin Rice Pudding (a.k.a. Alcoholic Dessert ... Mmmm)

So, I know I said I was going to post the other cake when I did my last post, but I lied.  It wasn't really an intentional lie.  I had planned that it would be my next post.  But I've had a request for a recipe, and the Vanilla Cardamom Pound Cake pictures are still on my fancy pants camera, so those two things combined are the reason that I lied.

Tonight's dinner was Lasagna Cupcakes followed by Rum Raisin Rice Pudding.  I was posting pictures on Facebook during the process and caught some peoples' attention.  One friend commented that they looked good and a change in menu was now in the works.  Another friend added me to a Facebook group called "What's For Dinner."  That's where the recipe request came from and since I was planning on posting it anyway, and my husband is currently asleep on the couch, now was as good a time as any.  So, onward!

Rice pudding is amazingly simple and easy.  I've made it twice in the last few weeks.  I've combined a few ideas from different recipes around the internet, and adapted my own kitchen supplies into this.  The first time I made it, I let the raisins soak for a few hours.  The most recent time, I let them soak for 2 days.  I think my husband would prefer a soak time somewhere in between the two, but they both tasted pretty good to me.


Rough Ingredients:

1 cup of raisins
approx 1/4 cup of dark rum (I used a black spiced rum, and you'll need a little more if you plan on soaking longer)
1 cup white rice (I use Jasmine, though Arborio rice is supposed to work really well)
4 cups of milk/cream mixture (I use powdered non-fat milk in my cooking, so I did 3 cups non-fat, 1/2 cup whipping cream, 1/2 cup almond milk)
1 cup water
1/2 tsp salt
1/2 cup sugar
1 cinnamon stick (or sprinkle in some ground cinnamon ... sometimes I do both)
1 1/2 tsp vanilla extract (or just a splash, because I don't measure this part)
1 egg, beaten

The first step is to get the raisins soaking in the rum for as long as you want. 

When you're ready to make the pudding, measure out your liquids and combine them with the salt and sugar in a decent sized pot, about 2 qt minimum.  Heat to just below boiling and stir in the rice.  Bring back to a slight bubble, then reduce the heat to low.  Cook uncovered for 30-45 minutes until rice is soft, stirring frequently.

In a bowl, mix some of the hot rice liquid into the beaten egg to temper the egg, then add the warmed egg mixture back into the rice pudding, stirring to mix thoroughly (If you don't temper the egg, you end up with bits of cooked egg in the pudding... It doesn't affect the taste at all though, so if you're like me and you do this, don't worry about it).  Cook for about a minute, then remove from heat.

Add the vanilla and the raisins (with any remaining rum if desired) and stir well.  At this point you can serve it warm, or you can chill it to serve cold.  If you serve it cold, place a piece of plastic wrap directly on top of the pudding to prevent a skin from forming.

I usually split this into individual serving sizes before refrigeration.

Yum yum... Enjoy and happy eating!

Wednesday, January 25, 2012

Tex-Mex Slow Cooker Chicken Burritos (or soft tacos, or just plain bowls)

So, I've been busy working lately.  But I have a few things that I've done recently.  One of them will be a full sized post and probably posted tomorrow.  That will be the Cardamom Vanilla Pound Cake from Linda's Herb and Spice project.  I have to tell you that I had lots of luck with that.  But I'll post all the details and the progress pictures when I do the full post.  I also have pictures of German Pancakes (which I recently found out that the recipe that I use is the same as for Yorkshire Pudding, so I may have to try it in that capacity too), Rum Raisin Rice Pudding, and a quick and easy slow cooker meal.

I'm going to share the slow cooker meal in this post.

I was basically looking for something that we haven't done in a while with things that I had on hand.  I didn't have everything that I decided to use on hand, but it was a short walk to the store and a small grocery bill.

So here's what I used:

4 chicken breasts (boneless/skinless)
1 red onion sliced (the onion in half, then each half sliced, leaving longer half circles)
a couple cloves of garlic (I think I did 3 or 4)
1 red bell pepper
1 Jalapeno pepper
Cumin (I used a ground toasted cumin)
ground Chipotle pepper
salt and pepper
1/2 cup chicken broth
1 can black beans (had one that was "Cuban style" with red and green bell peppers)
1 can tomatoes (I used fire roasted with garlic ... I like garlic)
half a bag of frozen white sweet corn

While my chicken was defrosting, I sliced the onion, bell pepper, jalapeno and garlic.  In a pan, I sauteed the onion until it started to soften, then added the garlic.  I let that cook up for a minute or two, then added the bell pepper and jalapeno.  To the veggie mix, I added the spices.  I tend to go lighter on the salt and heavier on the other spices.  There's really no measurements for these.  I usually just eyeball the amounts.

Once the onions were caramelized and the other veggies soft, I transferred them all to the bottom of the slow cooker.

In the same pan, brown up the chicken breasts.  You're not trying to cook them through, so higher heat is okay here.  You're just trying to put a little color on them (color equals flavor ... and as Anne Burrell says "Brown food tastes good").  Once browned, take the chicken out of the pan and set them aside.  Deglaze the pan with the 1/2 cup of chicken broth.  It's all flavor.  Pour that liquid into the slow cooker with the veggies.

Add the can of tomatoes, the can of black beans and the corn.  Stir to mix.  Place the chicken on top and cook on low for 8 hours or high for 4-5 hours (I cooked mine on high because I got a late start).

The original plan was to serve the chicken mixture over rice, but when I was at the grocery store getting supplies, I decided to get tortillas and try them that way.  I still cooked up the rice separately, but I think next time, I'll add a little extra chicken stock to the chicken and add the rice towards the end to cook in that liquid.

In addition to the chicken and rice, we built the burritos with cheese, fresh green onions and sour cream.  My husband also used fresh cilantro, but it's not my favorite.

And my plate for dinner:

(You can see the extra liquid.  I was afraid that there wasn't going to be enough when I was putting it all together.  I'm glad I decided not to add more.)

Feel free to try this, or to use it for inspiration of your own.  The variations on something like this are pretty much endless.  I like to try out different combinations all the time just to see what works and what doesn't.

Thanks and happy eating!

Friday, January 13, 2012

Meatloaf with stuff...

Happy Friday the 13th!  I hope luck was on your side today.

The other day I was looking around the kitchen, trying to figure out what I wanted to make for dinner.  I wanted to do something that we don't normally do that I had all the stuff for.  I didn't want to do the same old thing, so I decided on the easy, yet different, meatloaf.


Because it's not something that I've made in a while, I looked up a couple basic recipes to make sure I wasn't forgetting something important.  So my base recipe was found here, but what I ended up making was only loosely based on that recipe...

Ingredients:
  • 2 pounds ground beef (because it was packed in 1 pound portions)
  • 2 eggs
  • 1 onion, chopped
  • 3 cloves of garlic (because it seemed like a good idea)
  • 1 cup milk
  • approximately 3 pieces of bread, torn (works better than crumbs)
  • 3 small red potatoes, diced (because I needed to use them up)
  • Spices... I used toasted cumin, chipotle ground, Italian seasoning, salt and pepper
Topping:
  • 2 tablespoons brown sugar
  • 4 tablespoons ketchup
  • 2 tablespoons yellow mustard
  • 2 tablespoons grainy, spicy mustard
  • ground chipotle


The "Sort of" Directions:


1. Preheat oven to 350 degrees F (175 degrees C)

2. Soak torn bread in milk.

3. Saute diced onions, chopped (or grated) garlic and diced potatoes until potatoes are almost fully cooked and onions are soft.  Let cool to handling temperature.  (During a bit of research I did into adding potatoes to the meatloaf, I saw that a lot of people boiled their diced potatoes... I chose to saute because I didn't want to mash the potatoes during the mixing process)

4. In a large bowl, combine the meatloaf ingredients.  Take off the rings and just dig in.  It's much more efficient that way.


5. Once mixed thoroughly, I usually cook up a small amount to test the seasoning.  Let's face it... it's a little hard to adjust after the loaf is cooked.  Adjust the seasoning if needed, then form the meat mixture into a 5x9 loaf pan.  You can also create a free form loaf in a 9x13 pan.  Some people prefer this because you can get more of those crispier edges.


6. Mix topping ingredients together and taste test that.  If all is well (the flavors will meld more, the more time you let the mixture sit), then spread over the top of the loaf.


7. Bake at 350 degrees F for at least an hour.  I think mine went for an hour and a half.  I use an in-oven meat thermometer so I don't under cook things like this.  When it's done, remove from oven (carefully) and serve it up with what ever you choose.  I picked mashed potatoes and asparagus.  The mashed potatoes were from a mix because I cheated.  The asparagus I sauteed with a little olive oil and salt.


All in all, dinner was a success.  My husband enjoyed it.  The meatloaf was super moist because of the milk soaked bread.  The topping added just enough sweetness and spice without being overpowering.  And the diced potatoes worked out really well actually.  It was a nice texture addition, and they weren't mushy.

If you try this, or make your own variation of it, let me know how it comes out.

Thanks and happy eating!

Sunday, January 8, 2012

Mmmm... Bread


Today my husband asked me if I was planning to make bread all the time now (rather than buying loaves).  I said I probably would and asked why he was asking.  "Because this is really good bread," he responded while taking a bite of toast.

On Friday I made two loaves of my favorite bread recipe.  It's actually a recipe for hamburger buns that I just decided to make loaves out of.  One of my biggest complaints about bread recipes is the crusty crust.  I like that in Italian breads, but for an everyday sandwich bread, I was looking for something a little softer.  I have seen all sorts of tips for making bread crustier, but I never seemed to find anything to make a crust softer.  This recipe is just soft enough and makes 12 rolls or two loaves of bread.

Ingredients:

  • 1 cup milk
  • 1 cup water
  • 2 tablespoons butter or margarine
  • 1 tablespoon white sugar
  • 1 1/2 teaspoons salt
  • 5 1/2 cups all-purpose flour
  • 1 (.25ounce) envelope active dry yeast
  • 1 egg yolk
  • 1 tablespoon water

Directions:


  1. Combine the milk, 1 cup of water, butter, sugar and salt in a saucepan.  Bring to a boil then remove from the heat and let stand until lukewarm.  If the mixture is too hot, it will kill the yeast.


  2. In a large bowl, stir together the flour and yeast.  Pour in wet ingredients and stir until the dough starts to pull together.  If you have a stand mixer, use the dough hook to mix for about 8 minutes. If not, knead the dough on a floured surface for about 10 minutes.  Place dough in a greased bowl, turning to coat.  Cover and let stand until doubled in size, about 1 hour.


  3. Punch down the dough and divide into 12 portions.  They should be a little larger than a golf ball.  Make tight balls out of the dough by pulling the dough tightly around and pinching it at the bottom.  Place on a baking sheet lined with parchment paper or aluminum foil..  After the rolls sit for a minute and relax, flatten each ball with the palm of your hand until it is 3 to 4 inches wide.  You may want to oil your hand first.  Set rolls aside until they double in size, about twenty minutes. (For loaves, divide dough into two, stretch into a rectangle and roll .  Pinch the sides and the bottom seam.  Place into loaf pan seam side down.  Cover and let sit until the right size.)

  4. Preheat oven to 400 degrees F (200 degrees C).  Mix together the egg yolk and 1 tablespoon of water in a cup or small bowl.  Brush onto the tops of the rolls.  Position 2 oven racks so they are not too close to the top or the bottom of the oven.  (I don't use the egg wash on the loaves.)
  5. Bake for 10 minutes in the preheated oven.  Remove the rolls from the oven and return them to different shelves so each one spends a little time on the top.  Continue to bake for another 5 to 10 minutes, or until nicely browned on the top and bottom. (For the loaves, I use a similar time table.  Instead of switching racks, I just swap sides of the rack.  I bake them until they smell done and are hollow sounding when you tap the top.)

These are really good rolls and make a really nice loaf of bread.  The bread makes excellent grilled sandwiches too.  My next bread adventure should be to try to find a nutty bread to make... or a rye bread for my husband.

Thanks and Happy Eating!

Friday, January 6, 2012

Linda's Herb and Spice World Tour Part 1: Cardamom

A friend of mine, Linda, and her granddaughter (another friend of mine), Lilly have decided to take on a project for the year.  I think it's kind of neat and she has given me permission to share what she sends me with you all.  She plans to put together little packets throughout the year that contain a packet of a spice or herb, information about that spice or herb and a recipe or two using it.  The idea is that she'll choose things that are a little different, and recipes from different cultures and cuisines.  Like I said... I think it's neat and I'm interested to see what she comes up with through the year.

For the first installment of this project, they have chosen Cardamom.  This is not a spice that I currently have, but I'm still (re)building my herbs and spices.  So without further delay... Cardamom:


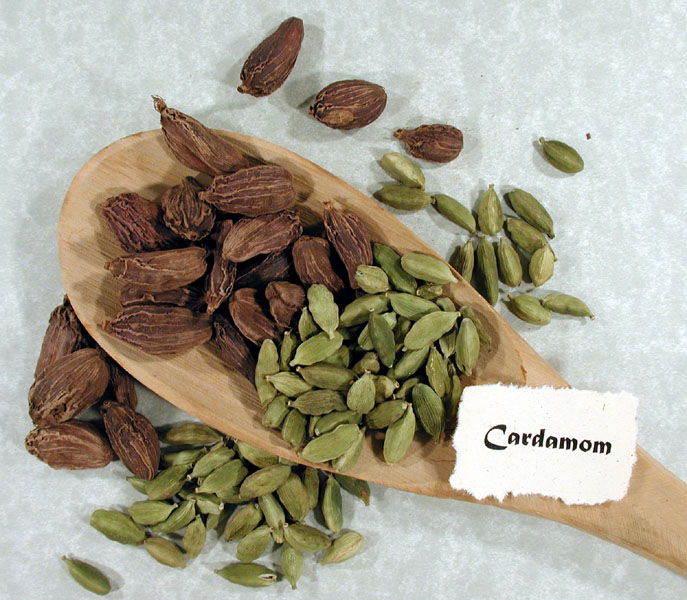
Image courtesy of UCLA Biomedical Library


All About Cardamom

by Sandra Bowens

Most herbs and spices are used in a similar manner no matter where in the world the cooking takes place. Thyme finds its way into soups and poppy seeds into baked goods with little regard for location or cuisine. Not so with cardamom.

This highly scented spice has a variety of typical uses depending on region. Cardamom flavors coffee in Saudi Arabia, baked goods in Sweden and ground meat in Norway. It is a common ingredient in Eastern Indian curries. All of India considers cardamom to be a digestive aide while Scandinavians employ it as a breath freshener.

The Near East and Scandinavia consume half the world's cardamom. It is more widely used than cinnamon in Sweden. Cardamom coffee or gahwa is a symbol of Arab hospitality. The spice is often combined with cloves and cinnamon in all cuisines.

A member of the ginger family, cardamom follows saffron and vanilla on the list of most expensive spices. As with those two spices, the harvest is labor intensive. Grown on plantations, primarily in India and Guatemala, the tall plants flower for eight or nine months of the year. Each pod, or capsule, ripens slowly and must be plucked when three-quarters ripe.

These capsules hold seeds that are considered the spice. After harvest, the pods are washed and dried. The method of drying dictates the final color. White indicates the pods have been dried for many days in the sun leaving them bleached. Green pods have been dried for one day and night in a heated room.

Cardamom is offered commercially in many forms. You might purchase the whole pods and remove the seeds yourself as needed. You may also buy "decorticated" cardamom; the seeds have been removed from the pod but left whole. Least desirable is the ground form. Powdered cardamom loses flavor quickly.

This flavor is intense with a citrus aroma and hints of menthol. Try it with baked goods, curries and meats. Some say it is a must for mulling wine. Just a quarter teaspoon or so will go a long way so use care as you experiment. Roughly 10 pods will give you enough seeds to crush to equal 1/2 teaspoon ground cardamom.

And on to the recipes....


Moroccan Garbanzo Bean Stew Recipe 
formerchef.com 

  • 2 Tbsp olive oil
  • 1 yellow onion, sliced
  • 5 cloves of garlic, minced
  • 1 tsp. cardamom, ground
  • 1/2 tsp cinnamon, ground
  • 1 tsp cumin, ground
  • 1/2 tsp paprika, ground
  • 1 tsp chili pepper, ground
  • 1 can (28 oz) diced tomatoes and their juice
  • 2 cans (15 oz each) garbanzo beans (a.k.a. chick peas)
  • 3 cups vegetable stock (or chicken stock or water)
  • 1 lb zucchini, cut into 1-2″ chunks
  • 4 oz dried apricots, diced
  • 1/4 cup green olives, pitted and chopped
  • 2 cups (packed) fresh spinach
  • salt and pepper to taste

1. Heat a large pot (6 or 8 qt) and add the olive oil. Cook the sliced onions over a medium heat until soft and add the minced garlic. Add the ground cardamom, cumin, paprika and chili pepper and cook 2 minutes.

2. Add the can of diced tomatoes, the garbanzo beans and the vegetable stock and bring to a simmer. Cook for 15 minutes and then add the diced zucchini, the chopped dried apricots and the green olives. Cook until the squash is tender.

3. Before serving, fold in the 2 cups of fresh spinach and cook until the spinach wilts. Season with salt and pepper. Serve with cous cous.

Notes (from the formerchef writer):
*I used ground chipotle chili
*I would have used fresh tomatoes if they were in season
*You can use dried garbanzos, just soak and cook them first.
* If too much of the liquid evaporates near the end of the cooking process, just add a little more stock or water and bring back to a simmer. 

How to Grind Cardamom:
The recipe calls for ground cardamom, and if you have some whole cardamom pods, it’s worth the extra time it takes to get the seeds out and grind them yourself. The fragrance is nothing short of incredible and blows the doors off the stuff in the bottle. 

Crush the pods until they break apart. Pull out the seed covers until you have nothing left but the tiny black/brown cardamom seeds. Grind them in a spice grinder until fine.

 And Recipe number 2:

Cardamom Vanilla Pound Cake
epicurious.com

  • 3 cups all-purpose flour
  • 1 teaspoon ground cardamom
  • 1 teaspoon baking powder
  • 1/2 teaspoon baking soda
  • 1/2 teaspoon salt
  • 2 1/4 sticks unsalted butter, softened
  • 1 3/4 cups granulated sugar
  • 2 vanilla beans, halved lengthwise
  • 4 large eggs
  • 1 tablespoon fresh lemon juice
  • 1 cup whole milk
  • 1 1/2 cups chilled heavy cream
  • 2 1/2 tablespoons confectioners sugar
  • 1 1/2 teaspoons pure vanilla extract

Equipment: a 12-cup kugelhopf or bundt pan; a stand mixer fitted with paddle attachment

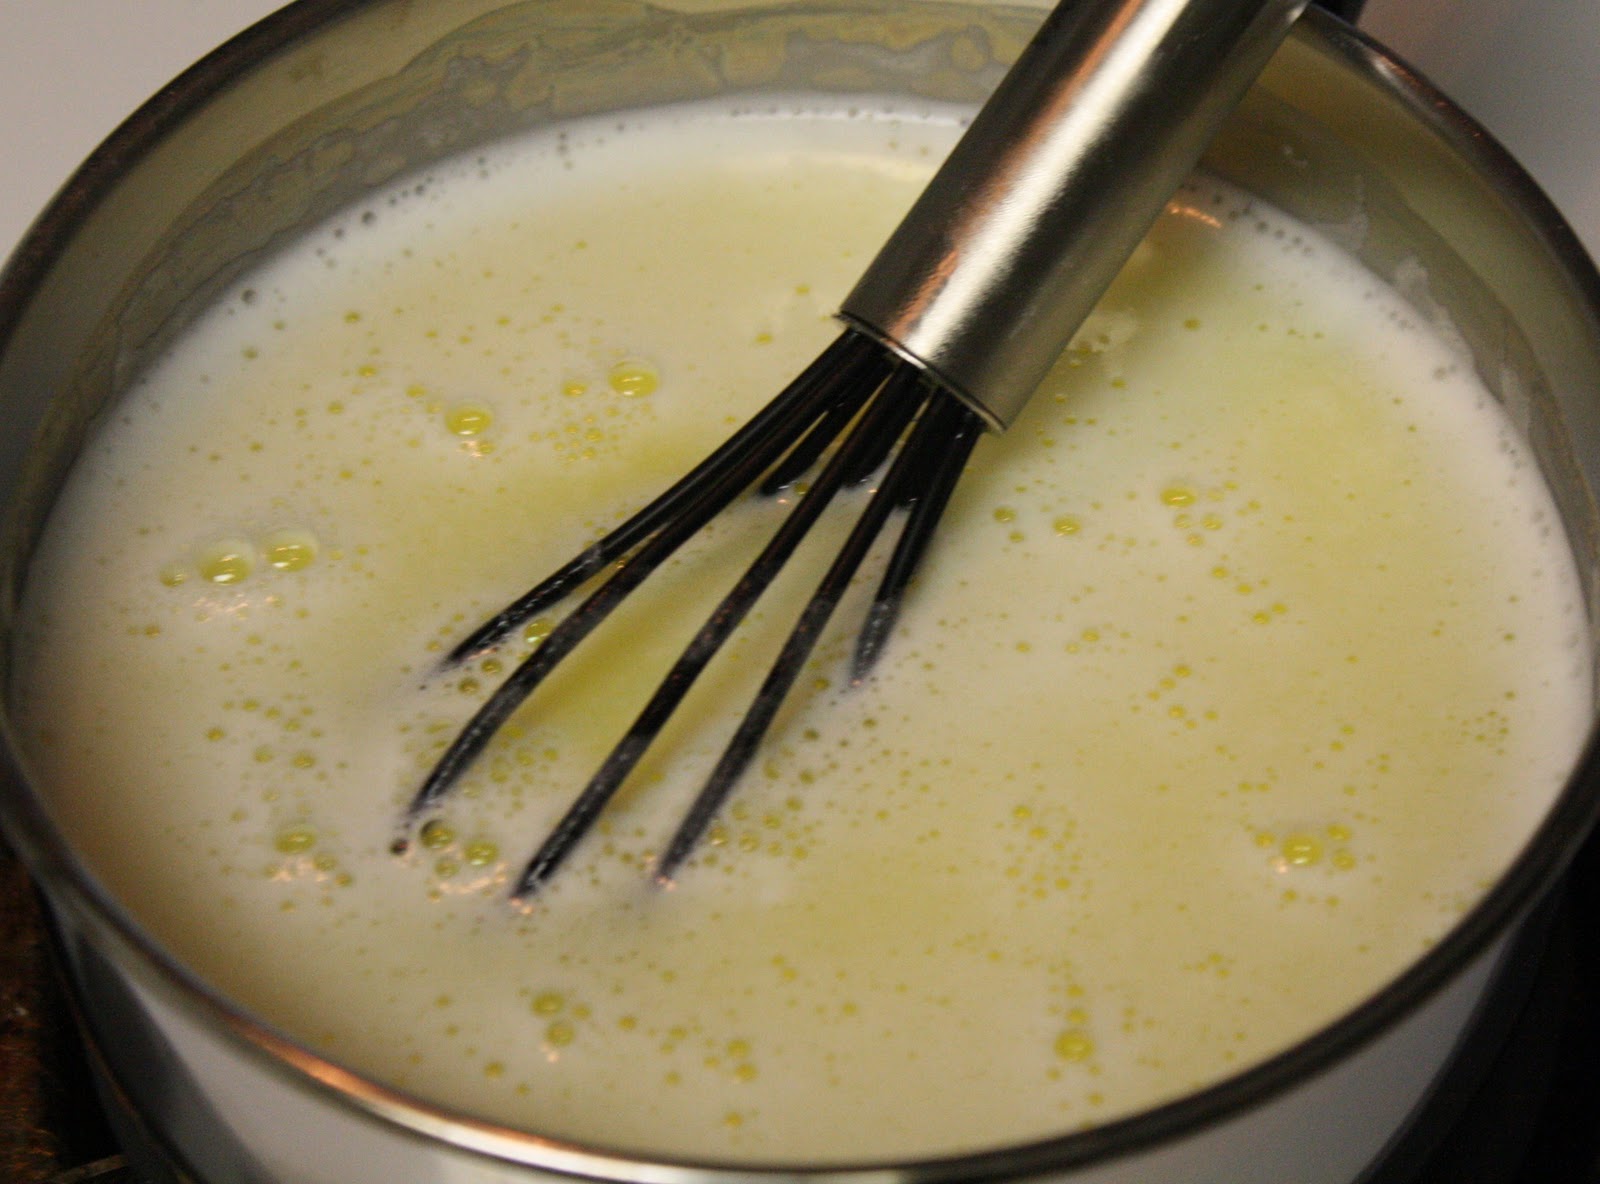
Preheat oven to 350°F with rack in middle. Generously butter pan and dust with flour, knocking out excess.

Whisk together flour, cardamom, baking powder, baking soda, and salt. Beat together butter and granulated sugar in mixer at medium speed, scraping side of bowl occasionally, until pale and fluffy, about 5 minutes. Scrape seeds from vanilla beans with tip of a paring knife into butter mixture, reserving pods for another use, and beat until combined well, about 1 minute. Add eggs 1 at a time, beating well after each addition, then beat in lemon juice until combined well. At low speed, add flour mixture and milk alternately in batches, beginning and ending with flour mixture, mixing until just combined.

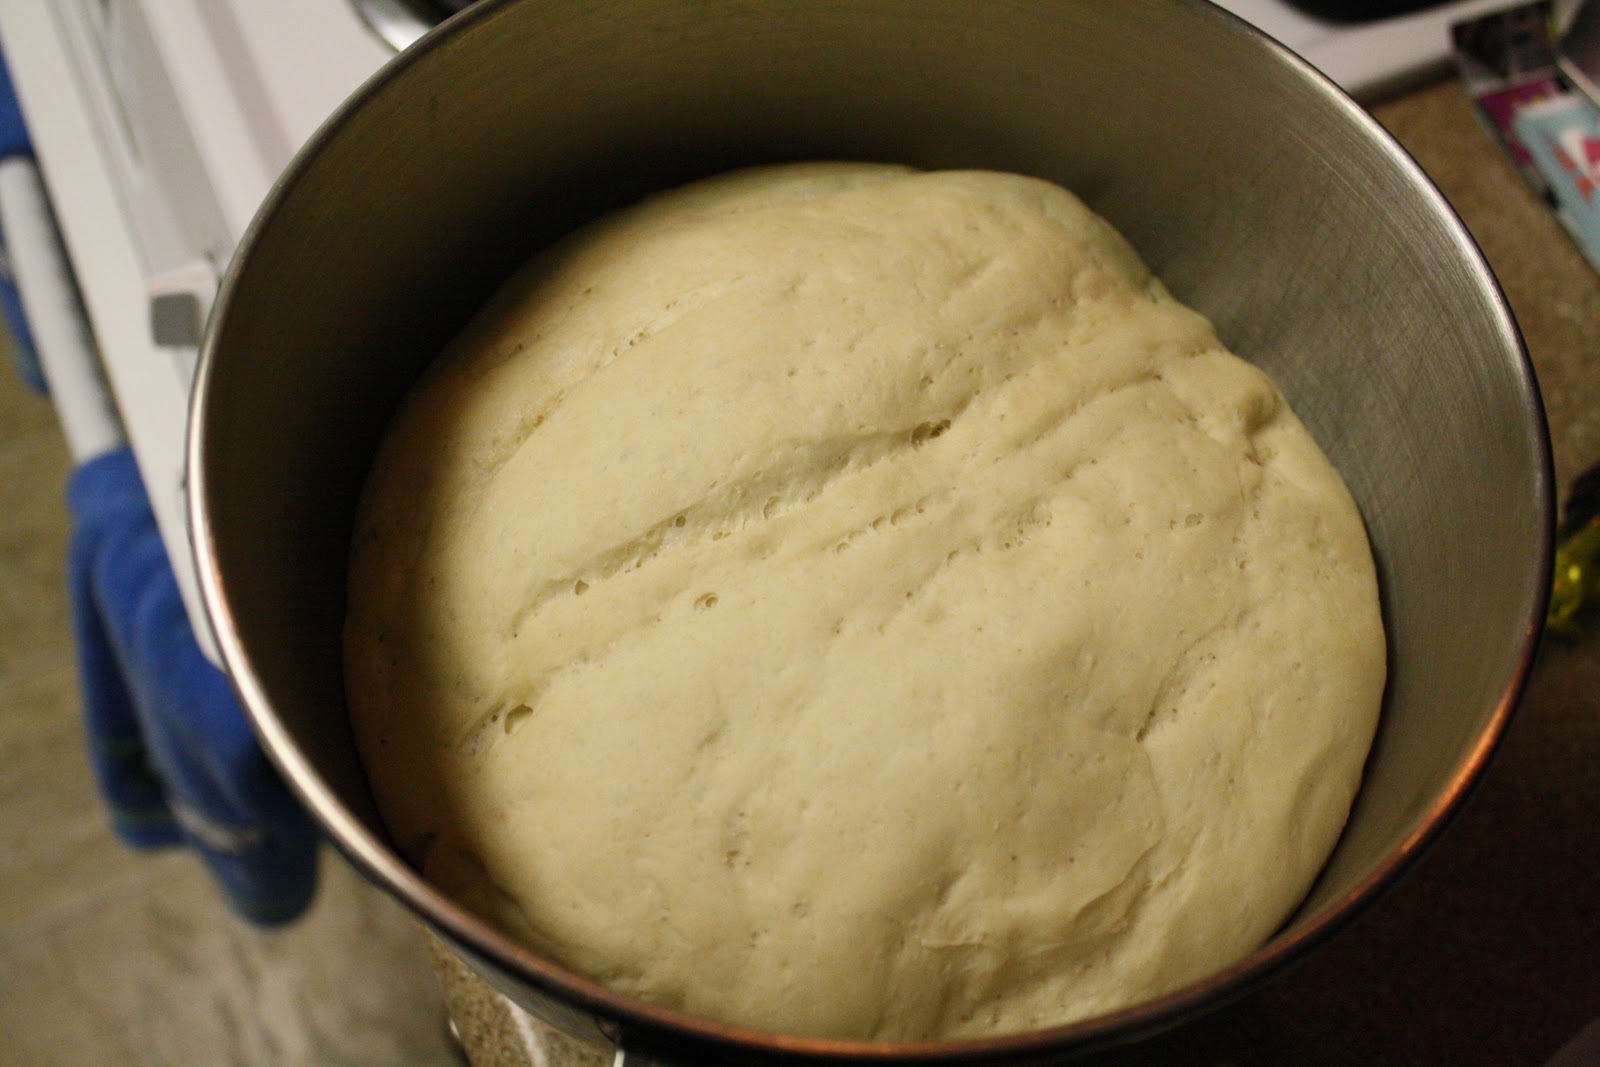
Spoon batter into pan, smoothing top. Gently rap pan on counter to eliminate air bubbles.

Bake until a wooden skewer inserted into center of cake comes out clean, about 1 hour. Cool in pan 1 hour, then invert onto a rack and cool completely, about 1 hour more.

Beat cream with confectioners sugar and vanilla extract using whisk attachment of mixer until it just holds stiff peaks. Serve cake with whipped vanilla cream.


~*~*~*~*~*~*~*~


I definitely plan on trying the pound cake.  As I'm sure you'll see, I do a bit of baking and am partial to deserts.  I may try the bean stew, but my husband is not a fan of zucchini and I'm not really a big fan of green olives.  Hopefully I can pick up the few things I'm missing for the pound cake recipe on Friday.  I will definitely post an entry with how that goes (with pictures!)

If you enjoyed this and/or tried a recipe, please leave a comment to let us know your thoughts.

Thanks, and happy eating.

Pumpkin Muffins with Cheesecake Filling

So... I figured I'd start off with this recipe since it seemed to be the one most people were interested in.

My husband likes all things pumpkin, including the squash itself, the seeds and all forms of baked goods.  I generally try to keep canned pumpkin puree on hand.  I had the idea to make a filled muffin/cupcake with cheesecake because it just sounded delicious.  I've tried this twice and the taste is there, but I'm having some trouble with getting the filling to do what I want it to.

Pumpkin Muffins with Cheesecake Filling (Makes 24):

Muffin Batter:

  • 4 eggs
  • 2 cups sugar
  • 1 1/2 cups oil
  • 1 3/4 cups pureed pumpkin (1 small can)
  • 3 cups flour
  • 1 teaspoon salt
  • 2 teaspoons baking powder
  • 2 teaspoons baking soda
  • 1 tablespoon cinnamon
Filling:
  • 1-8oz package of cream cheese
  • 1/3 cup sugar
Top with a sprinkle of brown sugar (optional, but my husband prefers them this way).

Directions:

Preheat oven to 375 F.  Grease or line 24 muffin wells.

Cream together cream cheese and sugar for filling until light and fluffy.  Set aside.

In a large bowl, beat the eggs lightly (medium speed if using a mixer).  Add 2 cups of sugar, the oil, and the pumpkin puree.  Beat well (again on medium).

In a separate bowl, whisk together the flour, salt, baking powder, baking soda and cinnamon.  (sometimes I also add a little nutmeg and clove to this.)  Add to flour mixture and blend well.

To assemble the muffins, fill muffin wells halfway with batter.  Add a dollop of filling to the center of each well and top with the remaining batter.  Sprinkle brown sugar lightly over the top of the muffins.

Bake at 375 for 15-20 minutes, until golden brown and muffins are springy to the touch.


Here was a picture of the first batch that I made.  They were yummy and they looked good from the outside.  I wasn't happy with the big air pocket on the inside when the cream cheese "deflated" though.  I tried this recipe a second time and added an egg to the filling, hoping that would help it keep it's shape.  The second round appeared to do better at first, but as they cooled, the filling still deflated.  The only difference was that it deflated the muffin as well.  So my second batch didn't look as pretty since on most of the muffins, the middle had sunk in.

It's still a work in progress for the look of them, but they really do taste good (the batter recipe would probably make a pretty good pumpkin bread too).

Thursday, January 5, 2012

So here we are....

People of Facebook.... This is your fault.  I'd just like you to know that right off the bat.  Of course, you could always turn around and say that it's my fault for posting pictures and comments about the things that I'm making (whether it's something that I've made in the past, or something completely new that I'm trying for the first time).  But, we won't talk about that. 

I was trying to figure out how I wanted to share recipes and my thoughts on them (specifically for the new ones), and at first I thought about doing a series of Facebook notes.  Then I figured that if I was going to do that, I might as well do a blog and just post the link to Facebook.  By doing it this way, I can keep all the recipes and notes in one location.  It will be easy for me to access some of my favorite things and document what worked and what didn't work.

I think I may also try to do at least two things a month that are either new or interesting.  If I can do more, then I will, but sometimes there are just down days.

Tomorrow I will start with the recipes, the successes and the failures.  As for today, I need to see about stuffing some sausage.  Something I have never done before.

So here we are... and who's really going to notice another food blog on the web.